KLK welding procedure
+50
years’ experience
1.
Cleaning of components
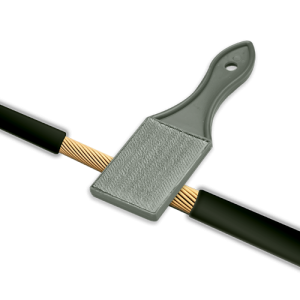
Remove insulation over a length of 15 cm. using the brush, brush the metal parts to be soldered to remove all insulation.
2.
Preheated welding mould
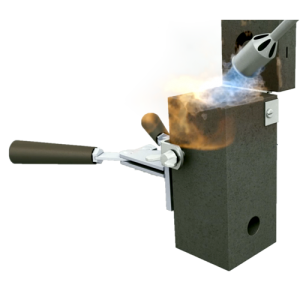
Before the first welding, it is essential to preheat the mould with a welding lamp for 5 minutes.
3.
Insert components to be welded
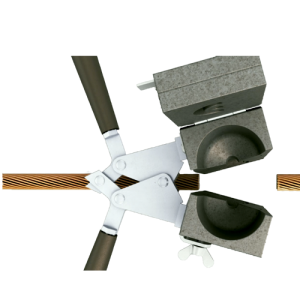
Open the mould by separating the handles of the tongs.
4.
Disc placement
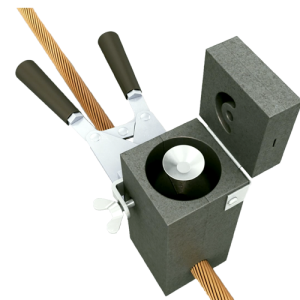
Close the mould clamp and lock it in this position to prevent leakage of molten metal during welding. Fit the metal disc.
5.
Pour aluminothermic powder
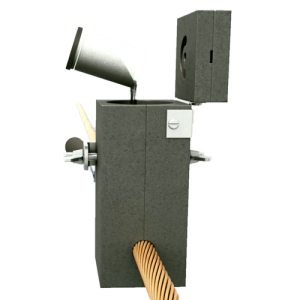
Open the coloured lid of the cartridge and empty the welding powder into the mould hopper, then turn the cartridge upside down and empty the ignition powder into the hopper reserving 5%-10% for application once the lid is closed in the top slot.
6.
Install ignition system
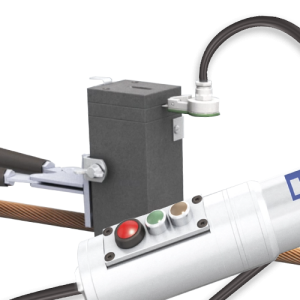
Place the ignition electrode (only for LSVip system) and proceed to close the cover, emptying the ignition powder previously reserved on the upper groove. Move a prudent distance away and proceed to press the red button on the LSVip control unit or spark by means of the ignition gun, depending on the system chosen by the user, thus activating the welding process.
7.
Install ignition system
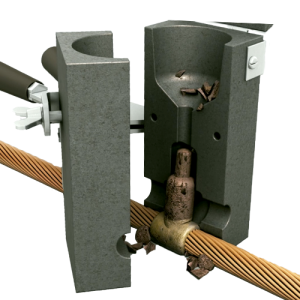
Wait 5 minutes and proceed to open the mould by separating the handles of the tongs to release the solder from the graphite mould, being extremely cautious of the temperature of the mould and the soldered conductors.
8.
Open mould
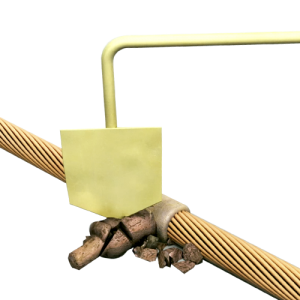
Once the weld has been removed, the weld should be lightly tapped with the scraper to remove the slag from the welding process.
9.
Cleaning equipment
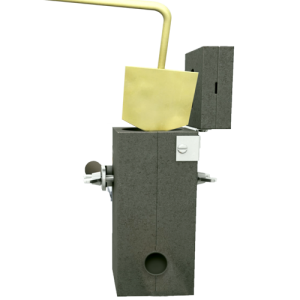
Remove the slag from the hopper, the pouring hole and the mould cover with the mould scraper. Clean the welding chamber with a brush to remove dirt residues. If the mould is still hot, a new weld can be made.
Aluminothermic welding procedure video
ALUMINOTHERMIC WELDING
If you are still not clear on how to carry out aluminothermic welding with KLK weld equipment, don’t worry, here is a link to our KLK tv portal where you can check step by step the processes described in the procedure manual in a visual and easy to follow way.

